How to Fix a Broken Seat Belt Buckle (6 Steps)?
It can be expensive to buy a brand new seat belt buckle, and therefore it can be worth trying to repair it. Here’s how you can do it at home.
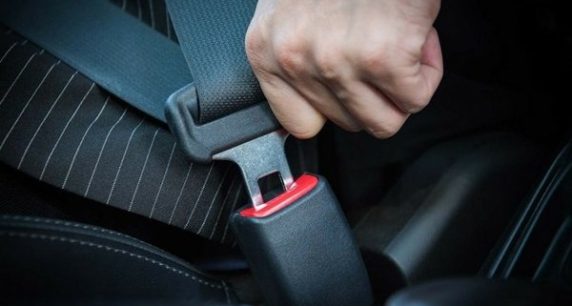
Wearing your seat belt is one of the most basic ways to protect yourself from injury in a vehicle. In fact, it’s a law for you to wear your seat belt when driving. So, what do you do if the seat belt buckle isn’t working properly? You will need to learn how to fix a broken seat belt buckle.
Fixing the seat belt buckle is as simple as inspecting it, opening it to see if anything is damaged inside and putting it back together. If these steps don’t work, you have no choice but to replace the buckle for your on-road protection.
With just a few basic tools, you can have your buckle fixed. We review the steps for you to follow and also discuss the fundamentals of the seat belt buckle.
6 Steps to Fix a Broken Seat Belt Buckle
- Examine the Belt

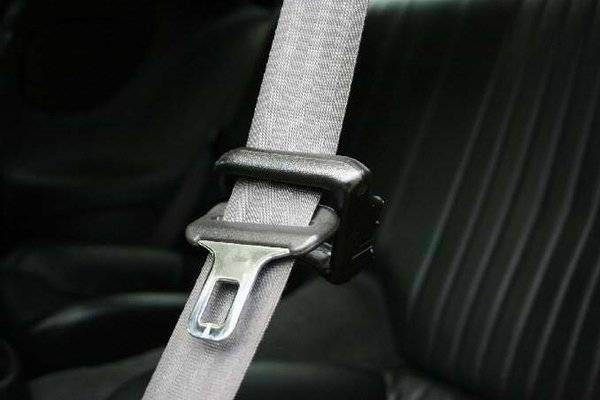
You may not need to do anything with the belt but simply examine it. If there is something stuck on the belt, it’s possible to remove it and restore the original function. The seat belt is in a location where dirt, grime and debris can easily build up over time. If you see something stuck to the tongue, you might be able to pry it off without taking any other steps. Products such as Goo Gone work well when the substance is extra sticky. - Inspect the Female Part

If there is nothing on the male part of the buckle, it’s time to look inside the mechanism. Something could have found its way into the casing and gotten stuck inside. You can take a butter knife or other object and gently stick it inside the buckle. Additionally, compressed air can be shot into the buckle to get the debris out. If the object is large, you might need to move on to the next step. You should also try some WD-40 or any other lubricant in the seat belt buckle. - Remove the BuckleTo get a closer look, you must take the female end of the buckle off of the seat. In some cases, this simply requires you to unscrew the buckle, while other models may force you to take off the seat. You can find the directions for your vehicle in your service manual. Either way, it’s the easiest way to get inside of the buckle itself.
- Open the SocketOnce the buckle is removed from the seat, you will notice a socket located between the edges. To dismantle it, you must remove all of the screws. With the edge of a screwdriver, you can pry it apart. If there are no screws to remove, you can simply pry it apart. However, you want to be gentle or you could damage some of the internal components.
- Check the Internal Movement
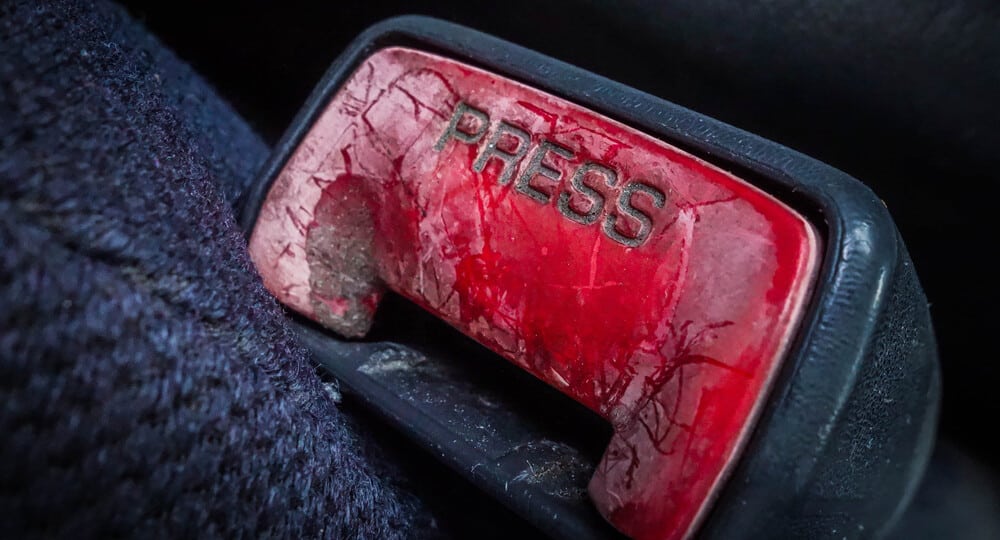
Once the buckle is open, you should be able to see all of the internal mechanisms. Not only will you see how the push button works, but there will also be a cam and springs. Push down on the button to see what happens next. If you notice anything blocking the movement, you should be able to remove it easily now. However, there’s also the chance that the buckle isn’t working because of old parts. While you could rebuild the buckle, we recommend moving onto the last step instead - Replace the Buckle
Some people enjoy tinkering around with things such as broken seat belt buckles but the repair can be time-consuming. While there are kits out there to rebuild the seat belt, it makes more sense just to replace it. You might also consider replacing the entire seat belt since the rest of it is also probably worn.